Fix Epson P405 Ink Cartridge Error
Fix Epson P405 printer errors : ink out, ink cartridge is low, ink cartridge near end, ink cartridge is empty, incompatible ink cartridge.
Why Epson P405 Ink Cartridge Error ?
– The ink chips was installed on all Epson P405 printer’s ink cartridges . These chips interact with the printer software installed on the computer, allowing users to track the printer’s ink status. Report the amount of ink remaining to the user through the “Epson Status Monitor” or on the LCD screen of the printer (if it has).
– When the “Epson Status Monitor” or on the printer’s LCD screen announces: ‘Black, Yellow, Magenta, Cyan ink cartridge is low’, ‘Black, Yellow, Magenta, Cyan ink cartridge near end’, ‘Black, Yellow, Magenta, Cyan ink cartridge is empty’ then Epson P405 printer has been near end or runs out of ink (one or several colors). Now, If you want to the printer continue printing, there are two options: replace continuous ink supply system – CISS to cost savings or replace the genuine cartridge with high price.
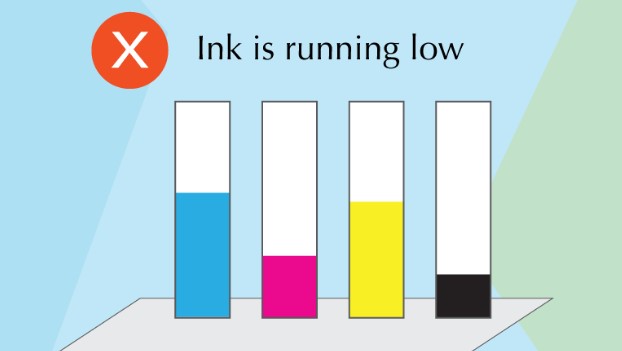
– Currently, the Epson P405 printer does not have what are continuous ink supply system compatible with it, so technicians have to manually create continuous ink supply system. However, when it was installed on the printer, some error message appears: “Ink Level Error” or “Ink Out Error” and the printer can not print. This is because the chip on the continuous ink supply system (CISS) is incompatible with your printer Epson P405, saying exactly it is not compatible with the printer’s current firmware. At this time, you need to change firmware version to default with disabled ink cartridge in service mode by Chipless Key to make Epson P405 printer Chipless so that the printer can function normally without the cartridge chip. This causes your Epson P405 printer will show 100% ink level all time you use it, it will not need to ink cartridges chips or CISS chips will be required anymore.
– Modify printers Firmware -> printer will not require Ink Cartridges (IC Chips on cartridges) anymore. You will not need to reset ink chips or replace them if they are broken, no need to hard reset or factory reset Epson P405.
– You can use CISS or Refillable Ink Cartridges on those printer models that doesnt have AutoReset Chips developed yet! Instead of using expensive Epson OEM Ink Cartridges. You can use third party Ink Cartridges, CISS or Refill Cartridges now !
– Reset Ink Chip Allowing printers to work without limits and the chip reset. All you need for printing is to refill the ink tanks in time.
How to chipless firmware Epson P405
For updating the printer firmware into a chipless one you need
1. Firmware Program compatible with your printer model.
2. Activation Program compatible with your printer model.
3. A computer with a Windows operating system and Internet access, only 1 printer driver software on computer.
4. USB cable.
5. Activation key.
– Get Key Chipless Epson P405:

Before you continue with the reprogramming of the firmware, please make sure that the device is installed on your computer. Remove any other printers driver software on computer. And make sure that any other devices (except mouse and keyboard, printer), which are connected to your computer via USB or LPT ports are disconnected. It’s preferable that the computer is connected to the “UPS” (uninterruptible power source) device, because if during the reprogramming process the electricity source has any interruptions, then the reprogramming will be carried out with an error, which makes the device unable to work.
STEP 1. Download Firmware and Activation for Epson P405:
– Firmware P405 Free Download: Click Here
– Activation P405 Free Download: https://bit.ly/2PAdwOL
– Unpackthe ZIP archives of these programs. Password Extract Activation is chiplessprinter.com
STEP 2. Turn off your printer using the power button and wait at least one minute.
STEP 3. Connect the printer to a Windows computer using a USB cable.
STEP 4. Login Firmware Update Mode
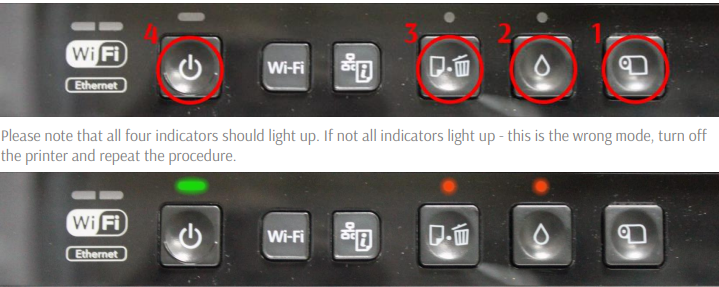
STEP 5. Launch the Chipless Firmware program on your computer.
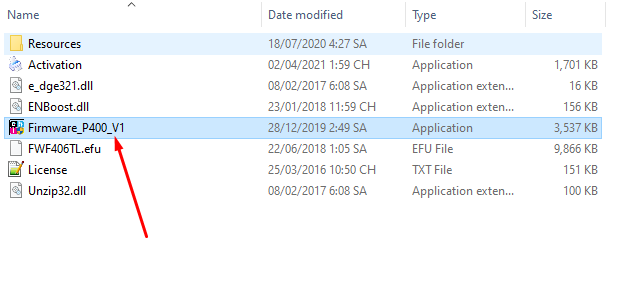
Read the introduction and click Next.
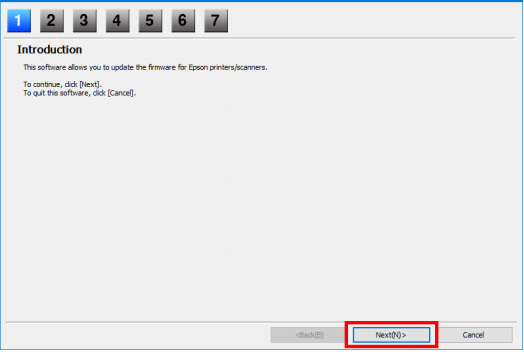
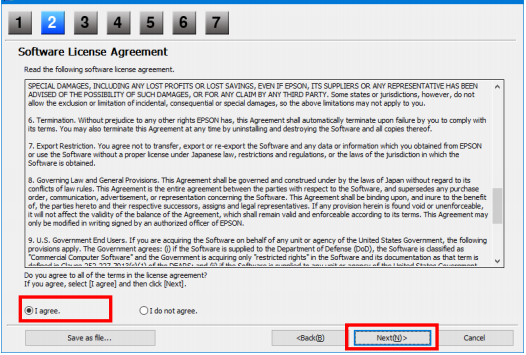
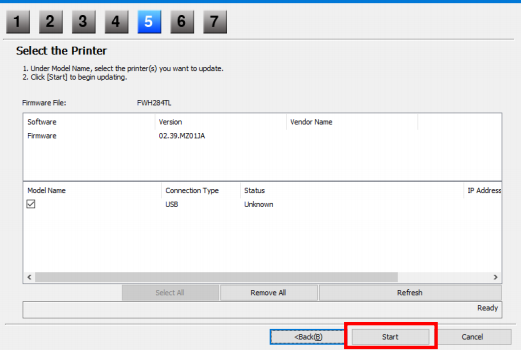
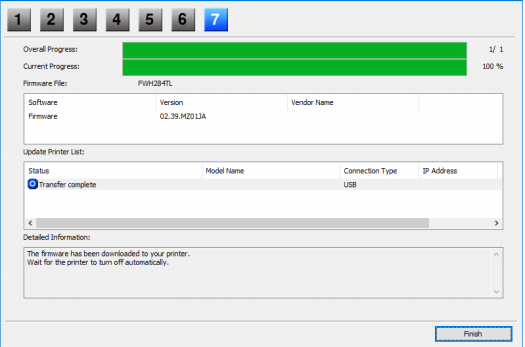
At this point, chipless firmware will be downloaded to the printer. The completion of the download process on to the printer will be indicated by the word FINISHED on the printer display. After that, press the OK button on the control panel and the printer will turn off.

STEP 6. Turn on the printer in normal mode (using the power button) and run the Chipless Activation program on the computer
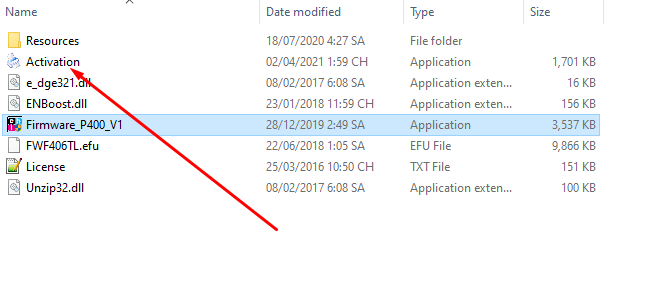
STEP 7. In Chipless Activation select your printer model and click the Activate Online button. In the window that opens, enter the activation key and click OK. The program will send a request to the chiplessprinter.com server and activate chipless firmware.
An activation key can be purchased at chiplessprinter.com. The key has a limited validity period and is suitable for only one specific printer.
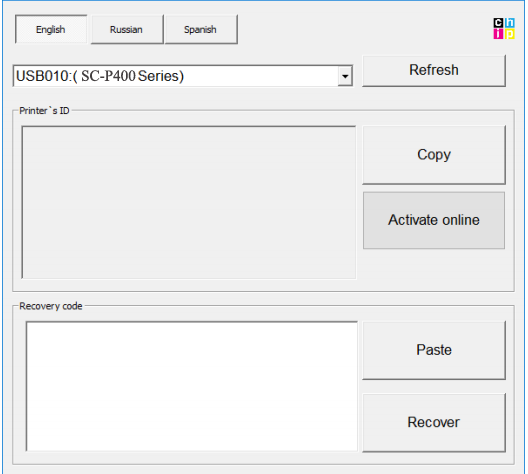
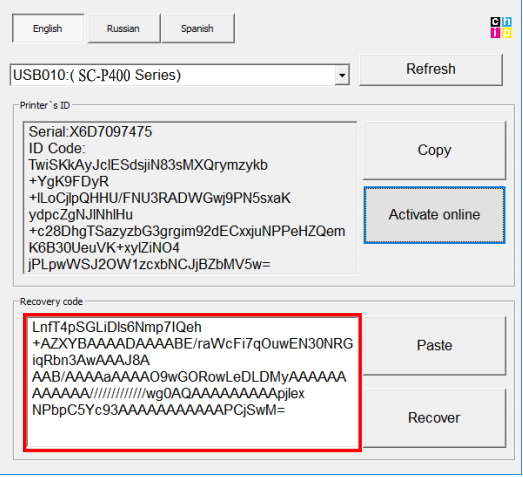
STEP 8. Save the firmware recovery code, which will be generated in the appropriate program window. This code will be needed if necessary, to restore chipless firmware.
STEP 9. Turn off the printer using the power button. The device is flashed into a chipless version.
STEP 10. Install the supplies in the printer and turn it on. The printer will be ready for use.
IT’s IMPORTANT! Do not turn on the printer after activating the firmware without consumables installed – this may lead to the failure of the print head of the printer.
Get Key Chipless Firmware Epson P405
